Ad Settings
Rocking the Mediavine Dashboard: Settings & Tools


It might seem a little bananas to go into this much detail on the Mediavine dashboard, but we’re committed to transparency — and your success — here at Mediavine. So today I’m excited to give you Part Two of our behind-the-scenes tour of the publisher dashboard.
This series is for YOU — whether you’re considering a switch to Mediavine, or you’re already one of our MVPs and want to know more about all the settings in your dashboard and how to customize them for your website.
Last week I walked you through the main reporting data of your Mediavine dashboard, and today we’re going even further behind the scenes into the settings.
This is the part of the dashboard that’s arguably the most fun: Using the tools at hand to help you fine tune your ads for user experience, boost RPMs and, ultimately, make more money.
Dolla dolla bills, yo!
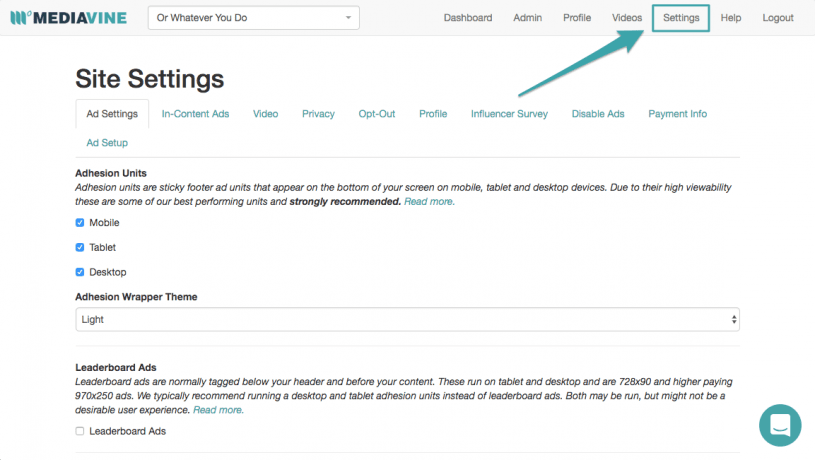
To access your settings, navigate to your Mediavine dashboard then click on Settings.

Available in your dashboard are a number of ad units you can toggle on and off.
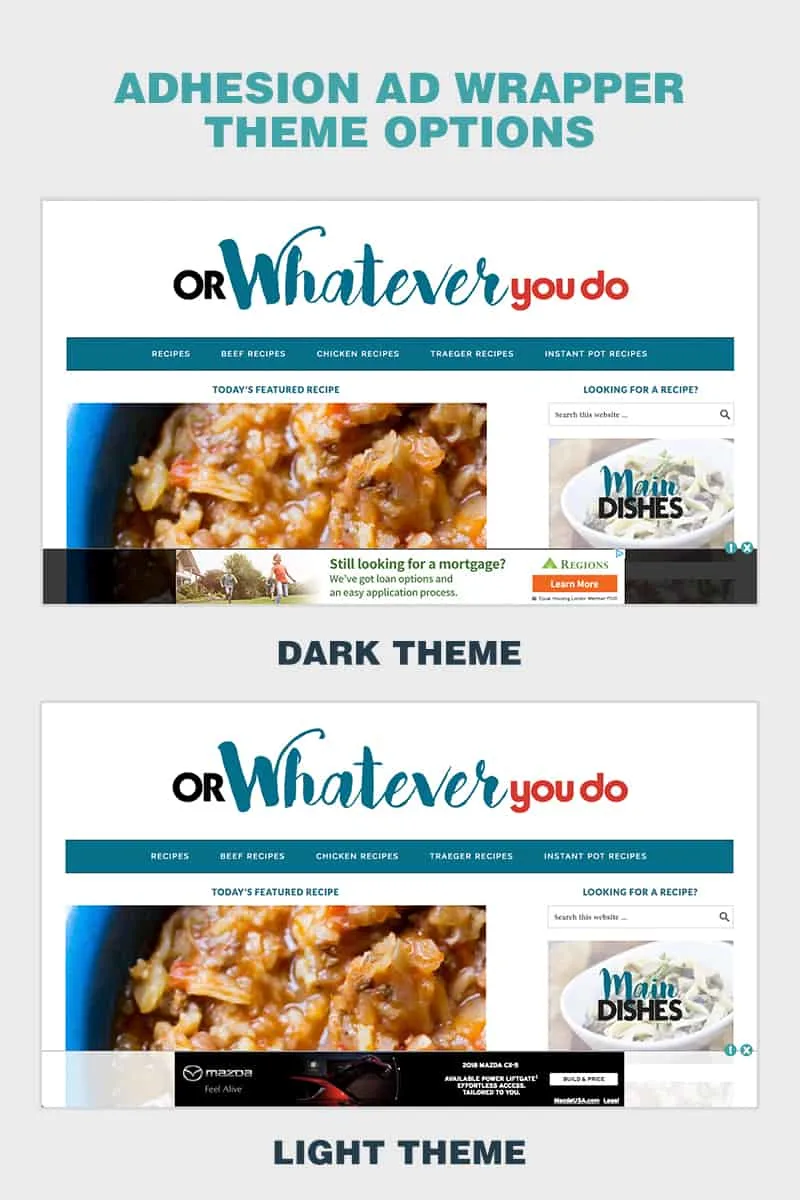
First up are the Adhesion Units. These are banners that “stick” to the bottom of the browser window as a reader scrolls. They also refresh every 30 seconds, so they can continue to earn ad impressions the longer a reader stays on your site. As a result, these units offer excellent viewability without disrupting user experience, making them top earners.
We offer them for mobile, tablet and desktop. All versions offer an ‘X’ button for the reader to close out the ad, if they choose.
You can also choose between a light or dark theme, so you can adjust it to suit the look of your site. Here’s what those look like:

This is a banner unit that runs at the top of your site. It’s totally optional and you’re welcome to enable it at any time, but keep in mind that it is a lower-performing unit. Unlike the adhesion ads which stay in view as a reader scrolls, the leaderboard slips out of view as soon as they start scrolling.
As a result, the leaderboard doesn’t earn as well as the adhesion units, so running the leaderboard can bring down your viewability scores.
We recommend running either the adhesion unit OR the leaderboard ad, not both.
We have three third-party units available to you. These ad units are designed and maintained by our partners, not us. They’re all totally optional, but they can be another way to add to your Mediavine earnings if you wish to run them.
Chicory
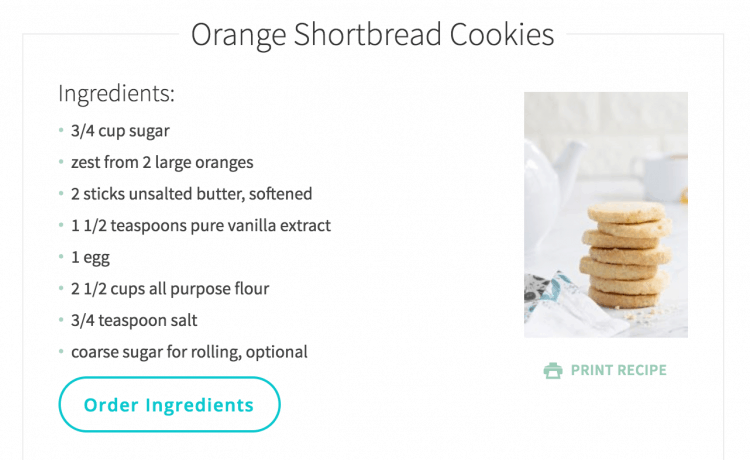
Chicory makes the recipes on your site shoppable and also provides native ads and ingredient promotions called Premium Campaigns within your recipe card.
Turning on the optional Chicory integration will add to your Mediavine earnings every month. Chicory is only for sites with recipe content, so if you’re not running a recipe card, you won’t have the option to enable this unit.


GumGum in-image ads
GumGum in-image ads appear on the images of your posts. They always feature an ‘X’ button so your reader can close out of them. You can view them in action in the GumGum Gallery.

ZergNet
ZergNet is our traffic exchange widget. It features two rows of related content based on the “category” of your site. The top row is paid ads, and the bottom row is content from your fellow Mediavine publishers. It is our only pay-per-click unit.
For example, if your site is about travel, the widget will show travel content. (We are always happy to help you change your category — just email us at publishers@mediavine.com.)
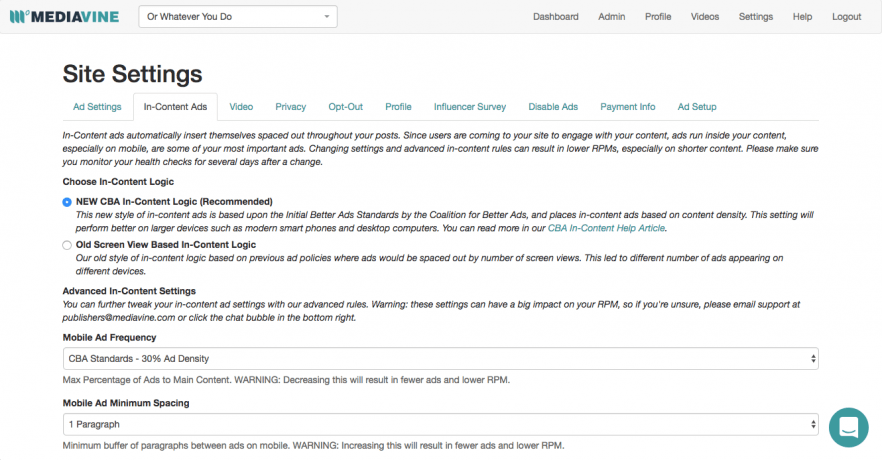

In-Content Ads
Our in-content ads are our mainstays and the chief way to monetize mobile traffic. These ads use our Mediavine script wrapper to automatically insert themselves into your content via our CBA in-content logic which intelligently spaces your in-content ads throughout your posts to ensure we are always within the Coalition for Better Ads guidelines.
The CBA guidelines state that ad content can not be more than 30% of the total page height, and we have an easy way for you to see how many ads Mediavine is running.
Because users are coming to your site to engage with your content, your in-content ads are some of your most important ads, especially on mobile.
Advertising always has to strike a balance between income and user experience, and we’re here to help. In your dashboard, you have a number of customization options to help you find and strike that balance.
You have the option to change the following:
Important note: Changing settings and advanced in-content rules can result in lower RPMs, especially on shorter content, so be sure to monitor your health checks closely for several weeks after any change.
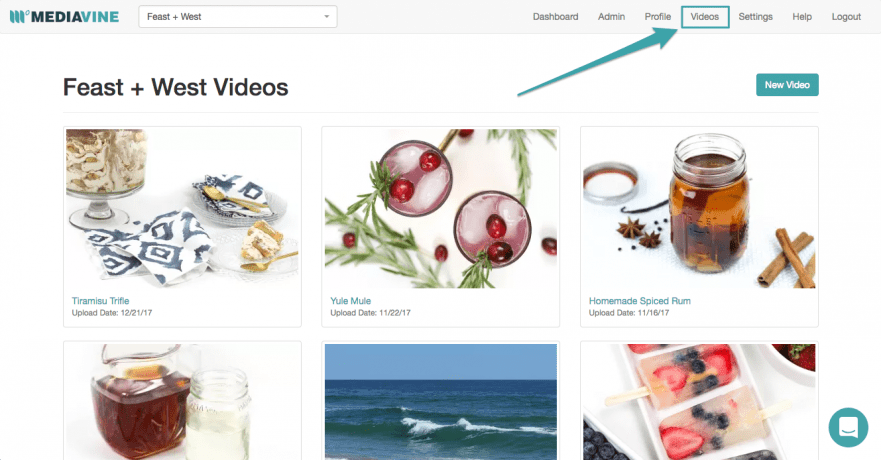

Our video offering is a great way to expand into video ads. It works similarly to YouTube. Simply upload a file, add some descriptive info like a title and a summary, and a link back to the most relevant page or post on your site, and you’ll get an HTML embed code to insert into your blog post.

When someone plays the video, if an advertiser meets the floor price and wins the bid, then a short ad will play before your video does.
And voilà! Now you can earn ad income from the videos you are making. If you need help, be sure to check out our How To Guide and our FAQ and Best Practices for video.

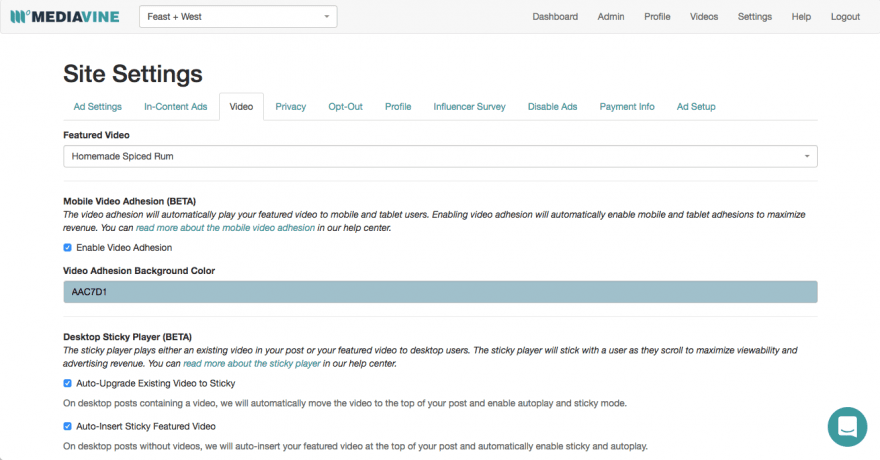
Video Settings
Under Dashboard Settings, you also have the option to customize your videos and run a couple of other great units like the video adhesion unit and the beta sticky desktop player.
You can also tweak your YouTube Channel ID, which will place a “Follow me” widget at the end of your video. Check out this guide for setting up your Channel ID.

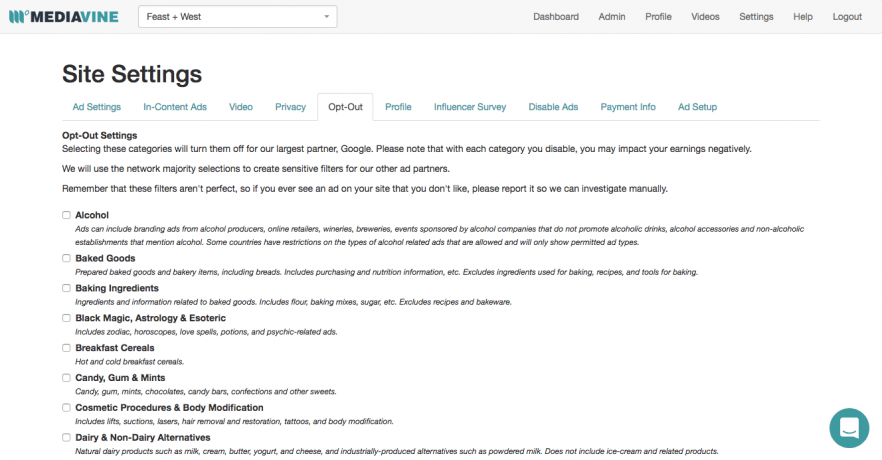
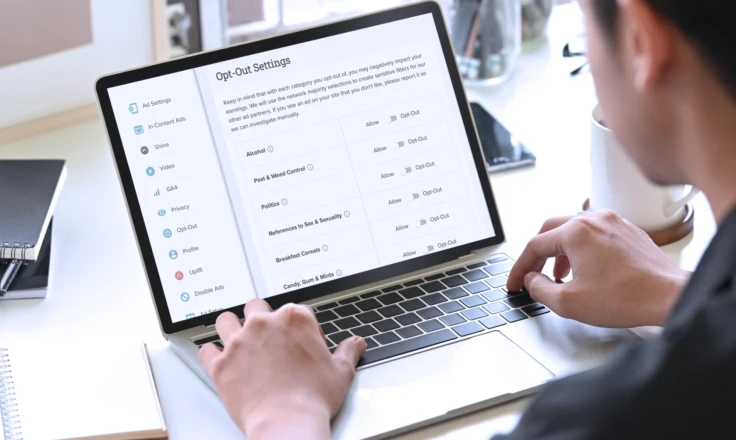
We offer a number of ad categories you can opt out of — ads for Downloads/Software, Alcohol or Tobacco, for example — from our largest partner Google AdExchange. For that reason, opting out of any category can affect your income.
It’s a good idea to review your categories every so often so you can make sure you are getting the most ad inventory possible. View the full list of opt out categories here.
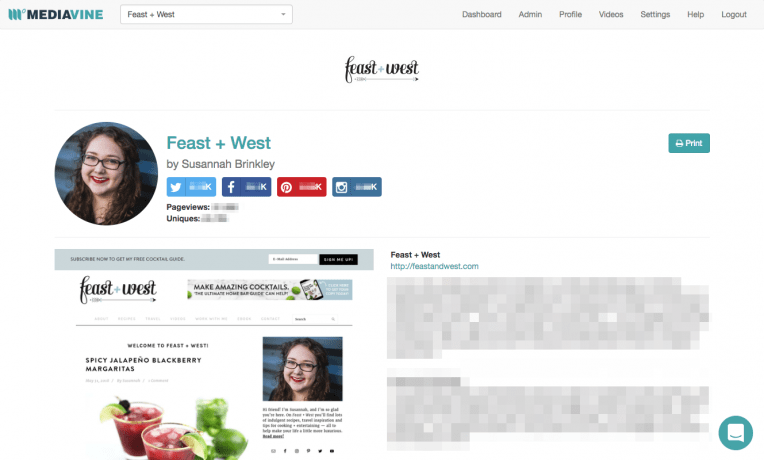

In your dashboard settings, you can fill out your Profile and your Influencer Survey which populates your Profile. Though this part of the dashboard doesn’t have an immediate effect on earnings, we recommend updating it quarterly with your rates and other information about your business.
Our influencer marketing team uses these profiles to find good matches for sponsored work, and our sales team also uses them in negotiating ad campaigns.
For help updating your survey, check out this guide. (Please note that the social follow counts rely on third-party APIs to be correct, so if you see a number that is wildly off, please email publishers@mediavine.com and we can correct it in our backend!)


We understand that removing ads is sometimes a request of sponsors, or having ads just doesn’t make sense for a particular page (for example, if it is a checkout page or landing page).
For those occasions, we offer our Disable Ads tool. It’s an easy way to disable all ads, one ad or a combination of ads on a page, for whatever time limit you set, even indefinitely. Check the boxes and copy & paste the embed code into your post, and save. See the full instructions here.
Remember, anytime you’re disabling ads on a page, you are disabling your ability to earn on that page. RPM is a calculation of all your sessions or pageviews against your income, so if one of your top pages has no ads on it, it can make your RPM look low. If you choose to do something like that, instead monitor your CPMs per ad unit for a gauge on how you’re earning.
We hope you enjoyed this behind-the-scenes tour, and if you have any questions or need help tweaking your settings, please email us at publishers@mediavine.com.
Stay up to date with the latest from Mediavine
As the digital advertising landscape evolves, the need for effective data management and compliance has never been more critical. As part of our commitment to providing exceptional solutions for our …
Welcome to the much-anticipated release of the fifth-annual edition of “The Best eCPM Days of the Year” calendar. Each year, we analyze historical trends to provide publishers with a graphical …
“Let’s talk about politics.” We know. This is a phrase absolutely no one wants to hear uttered around the dinner table or backyard barbecue these days. But hear us out. …