- General Blogging
9 Best Business Card Design Tips
•
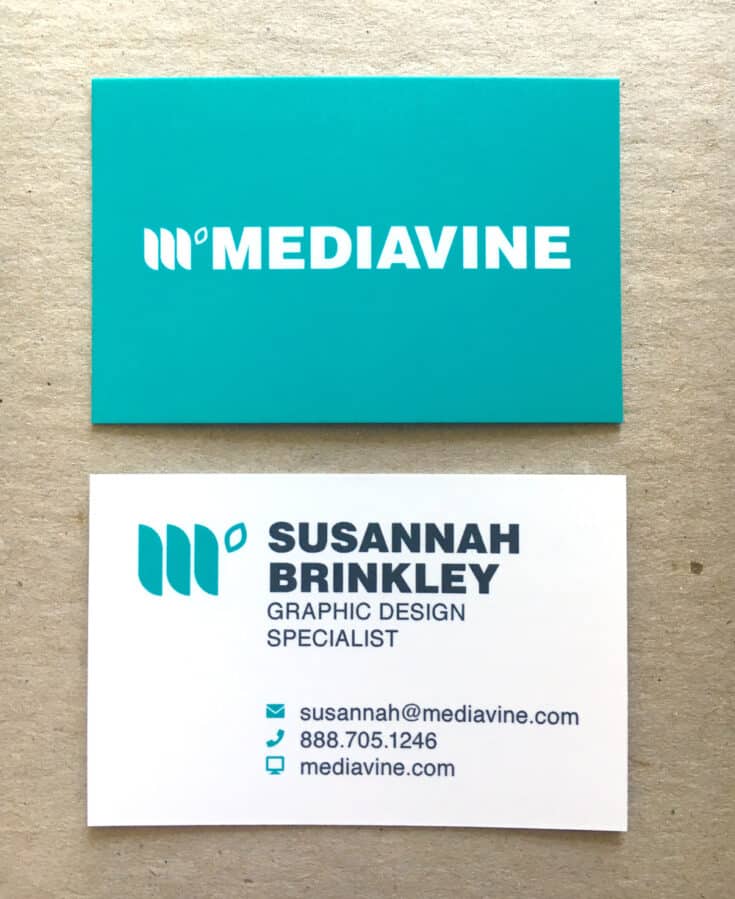 I’ve also picked up a lot of business cards over the years at conferences. The Mediavine team picks up tons of cards at conferences we attend as well. I love thumbing through them to see people’s ideas. (I’m weird.)
Suffice it to say, I’ve collected a lot of tips along the way that I’m sharing with you ahead of fall conference season.
So what should they look like? What should they include and not include?
I’ve also picked up a lot of business cards over the years at conferences. The Mediavine team picks up tons of cards at conferences we attend as well. I love thumbing through them to see people’s ideas. (I’m weird.)
Suffice it to say, I’ve collected a lot of tips along the way that I’m sharing with you ahead of fall conference season.
So what should they look like? What should they include and not include?
What to include on your business card
There are a few things every business card should have. Some of them are definitely optional. (I mean, who uses phones anymore when email is sufficient?!)- Your name — You wouldn’t believe how many people leave THEIR OWN NAME off. How will people know how to address you if they want to email or call you?
- Your logo or business name — If your blog/business name is not your own name, your business name should be on your card.
- A tagline or your job title — Let people know what you do. It’s not a resume, so keep it short.
- Your contact information — So people can reach you! That should include your email address (it’s almost 2020, you guys), your phone number if you don’t mind getting calls and possibly your business or mailing address. But remember you will give these out to strangers!
- Your website — This is crucial. Don’t miss this one. (Although I tend to give a pass if you have an email address with your website in it, like yourname@yoursite.com)
- Your social media info — If people want to connect with you immediately, this is the best way to make new friends on Instagram, Facebook and Twitter! Plus this is super handy for brands to follow you right away.

Show off your stuff!
As small business owners, we often don’t have just one job title. A short and sweet tagline is a great way to let people know what you do! Think of it as a 1- to 6-word elevator pitch. Some example taglines:- Graphic designer & food blogger
- DIY Blogger • Videographer • Speaker
- Food-focused travel blogger
Don’t use ONLY social media icons.
This is my #1 pet peeve when folks just put the app icon and no URL or @handle information along with it. If you have just the little Facebook icon in the corner, I can’t click it! It’s a piece of paper! ARGH! Seriously, it is a major frustration. But if you’re handing that card to a brand, blogger or really ANYONE, you will want to make sure to tell them how to find you on those apps, and not just letting them know you are on those apps.Think two-sided.
Two-sided cards are usually more expensive, but often not by much. There are lots of ways you can show off your brand’s personality. Many printers now offer a way to put multiple different photos or designs on the back of your cards, so each card is different from the others. This is a great way to show off your photography talent and give a quick glimpse at your style. You could also just put your logo on the back, or an on-brand quote. I once received a card that had a “Notes” section on the back — the giver used it to write some things we talked about before handing it to me. So smart! Here’s an example of a way you can incorporate photography on the front of a card: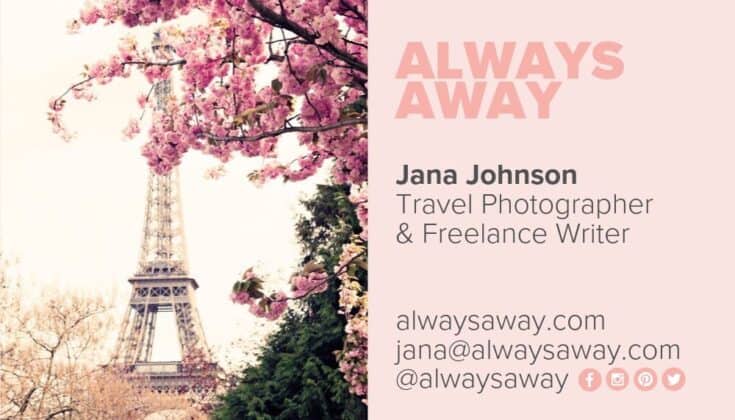
Enlist some help.
Have a friend check over the design. Even when you write something habitually, it’s easy to miss or invert numbers and letters. Since it’s information you’re used to typing, you might not even catch the typo, so a double check is always important. Ask your friend(s) to call your number, email your email address, visit your website and social accounts — just to make sure all that info checks out.Paper matters. Size matters. Special effects kinda matter.
I’m a print nerd, so bear with me. A thicker paper can make an impression, because it sticks out in a stack, and also shows you put a little more effort (and probably cash) into your business cards. A super thick paper (one that doesn’t really bend) will be more spendy but will definitely stick out in a stack. It drives me a little crazy though when I have a stack of business cards and there’s a square one, or one that doesn’t neatly fit in the stack. But! That person’s card always stands out, so it’s not a terrible thing! Personally I prefer the standard size (3.5 in. x 2 in., vertical or horizontal), but you do you, boo! Special effects, like thick paper, embossing, foil stamping, spot gloss and letterpress printing are showstoppers you can use (if you can afford them). I also try to remember that my card will likely end up in someone’s trash. Even for me — someone who LOVES all things printing and especially special effects — I don’t necessarily feel the business card is the best place to be spendy. My go-to for my own blog’s cards (and often for the cards I design for clients — and Mediavine!) is a two-sided design, with info on one side and a photo, pattern or logo on the back. I always use a thicker paper and a matte finish, but I try not to break the bank.
Where to print business cards
For myself, I use a local printer to save on shipping costs (and time), and often they charge a little less than the big name websites like Moo and Vistaprint. The downside with local printers is you need to order in large quantities, but at least you get to talk to a real person! The big name websites are fine, though, and I’ve definitely used them. They’re usually fast, and they have customer service if something goes wrong. If you don’t need the cards ASAP, they’re actually pretty affordable. Which brings me to…Order in enough time.
It should go without saying, but I’m saying it. A classic mistake is to forget to order your cards well before the event! I’ve met SO many people who neglected to order their cards, or they ordered them last minute and they weren’t going to arrive on time. I even met someone who had them shipped to their hotel and they didn’t arrive until after they left! That’s too risky for me! Once you have a printer you like, make sure you know how much lead time they need. Fast shipping is expensive and defeats the purpose of getting an inexpensive set of cards.Pack your business cards.
One of our team members (I’m not naming names!) frequently gets teased/reminded before a trip because he/she often forgets to pack them. (Love you, X!) But you? Be better! I keep a bag in my suitcase and never take it out — just to make sure I always have a few. I hope this helps you design better business cards for your blog! Hope to see one of yours at a conference soon. (Perhaps at our Mediavine conference in Austin in November?)About the author
Share this page